DIY vs Professional Flooring Cost: Tools, Labor and Risk
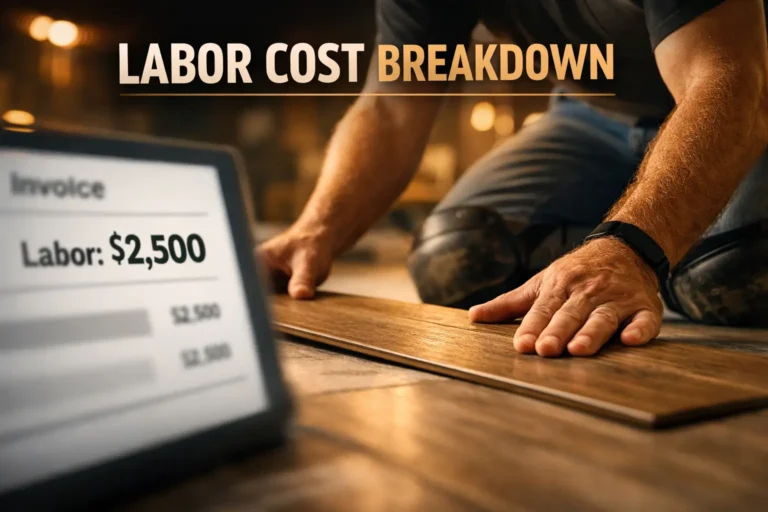
DIY flooring can reduce paid installation labor on some projects, but the net savings depend on tools, preparation, waste, materials, project complexity, and whether corrective work is needed. In the 1,000 sq ft example on this page, the modeled difference is $3,000 to $6,000, but that is a planning scenario rather than a guaranteed saving. The real number depends on the flooring type, tool rentals, waste, subfloor prep, transitions, and whether you have to redo any part of the job.
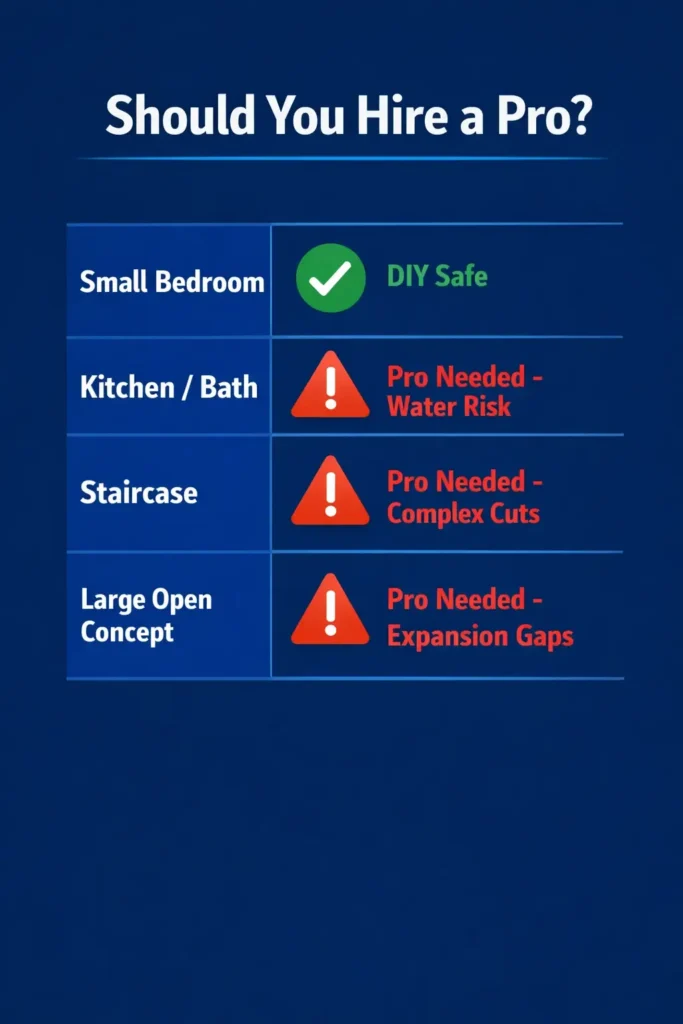
For simple rooms with click-lock vinyl or laminate, DIY can make sense. For kitchens, bathrooms, stairs, large open layouts, uneven subfloors, or expensive materials, professional installation may reduce execution risk, but warranty coverage and finished quality still depend on the product, written warranty terms, installer scope, site conditions, and workmanship.
Table of Contents
DIY vs Professional Flooring Cost: Quick Answer
DIY can reduce upfront labor cost in suitable projects, while professional installation may be preferable when the room, material, substrate, moisture conditions, or layout is complex. In 2026, a DIY flooring project often costs about $3.50 to $6.00 per sq ft, while professional installation often lands around $8.00 to $14.00 per sq ft in the example used here.
DIY suitability depends on experience, tools, product instructions, room layout, substrate, moisture conditions, and the consequences of an error. Bathrooms, kitchens, stairs, tile work, uneven subfloors, and continuous multi-room layouts often require more technical planning.
DIY vs Professional Flooring Installation Cost Comparison in 2026
In 2026, the average cost to install flooring per square foot from the example on this page works out to about $8.00 to $14.00 per square foot for professional installation and about $3.50 to $6.00 per square foot for a DIY project. That modeled gap can shrink once tool rentals, extra waste, transition pieces, subfloor preparation, disposal, and corrective work are included.
| Installation Type | 1,000 Sq. Ft. Example | Average Cost Per Sq. Ft. |
|---|---|---|
| Professional Flooring Installation | $8,000 – $14,000 | $8.00 – $14.00 |
| DIY Flooring Project | $3,500 – $6,000 | $3.50 – $6.00 |
For a broader benchmark, compare this page with our average flooring installation cost guide. If you want to separate labor from materials, see our flooring labor cost per sq ft guide.
In 2026, flooring installation cost is split between materials, labor, prep work, tools, and risk. A professional quote may include layout experience, subfloor assessment, transitions, scheduling, cleanup, documentation, and defined responsibility for installation workmanship, depending on the written scope.
Average Cost Example for a 1,000 Sq Ft Flooring Project
- Professional installation: About $8,000 to $14,000 when materials, labor, basic prep, and installation quality are included.
- DIY flooring project: About $3,500 to $6,000 when materials, tool rentals, extra waste, and basic supplies are included.
- Potential savings: The example difference is $3,000 to $6,000 before project-specific adjustments; actual savings depend on tools, preparation, material waste, repair work, and whether professional correction is later required.
Note: DIY savings are strongest when the room is dry, square, and simple. Technical difficulty can increase in kitchens, bathrooms, staircases, and large open rooms because moisture details, expansion requirements, transitions, substrate conditions, and layout may be more demanding. Resale effects should not be assumed from installation method alone.
DIY Expenses to Include in the Budget
Short installation videos may not show every preparation, tool, cutting, cleanup, or troubleshooting step. Include those practical requirements when comparing DIY with a professional quote.
If you want to see where surprise charges usually appear, read our hidden flooring costs guide before you assume DIY is automatically the cheaper option.
Depending on the flooring system and room details, you may need tools such as a jamb saw, a suitable saw or cutter, spacers, tapping or pull tools, measuring equipment, and safety gear. Tool requirements and rental costs vary, so treat a range such as $300 to $500 as an example rather than a universal DIY tool cost.
Waste varies by material, room shape, layout, pattern, cuts, experience, defects, and manufacturer guidance. Do not assume professionals always use 5% or DIY installers always use 15% to 20%; use a project-specific allowance rather than assigning the difference solely to mis-cuts around the expansion gap or around tricky corners.
If the substrate is outside the flooring manufacturer’s flatness requirements, preparation may be needed and can include patching, grinding, shimming, or self-leveling underlayment, depending on the substrate and product. Material quantity should be calculated from the measured area, depth, product coverage, and installer or manufacturer guidance rather than experience stereotypes.
Laminate vs LVP: Which Is Better for DIY?
LVP is usually easier for beginners than laminate because it is easier to cut, handles moisture better, and is more forgiving in kitchens, basements, laundry areas, and rentals. Laminate can still be a good DIY floor in dry rooms, but it needs careful expansion gaps and better water protection.
| Flooring Type | DIY Difficulty | Best DIY Use | Main Risk |
|---|---|---|---|
| LVP | Easier | Bedrooms, basements, rentals, kitchens, laundry rooms | Bad subfloor prep can cause clicking, gaps, or uneven seams |
| Laminate | Moderate | Bedrooms, offices, living rooms, hallways | Water damage, chipped edges, and poor expansion gaps |
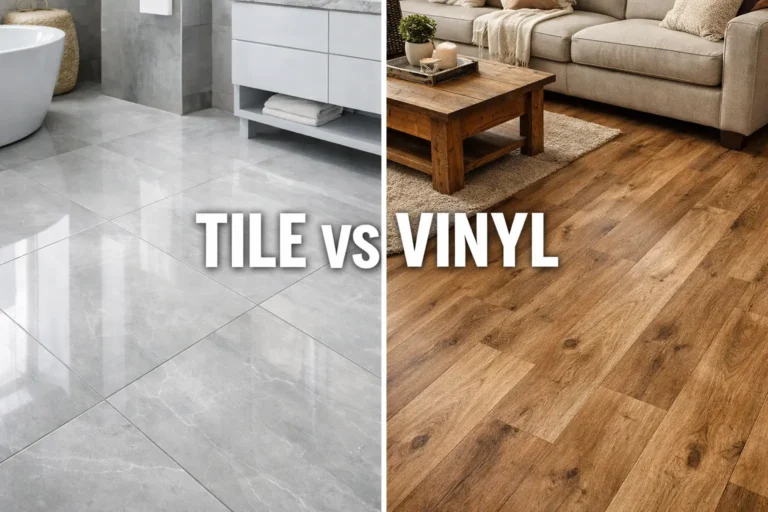
| Tile | Hard | Small backsplashes or very small floors only | Uneven layout, cracked tile, bad slope, grout failure |
| Hardwood | Hard | Experienced DIYers only | Bad nailing, poor acclimation, gaps, cupping, and sanding errors |
For material planning, use the vinyl and laminate calculator. If you are comparing material types before choosing, see our LVP vs laminate comparison.
DIY Flooring Risks Most Homeowners Underestimate
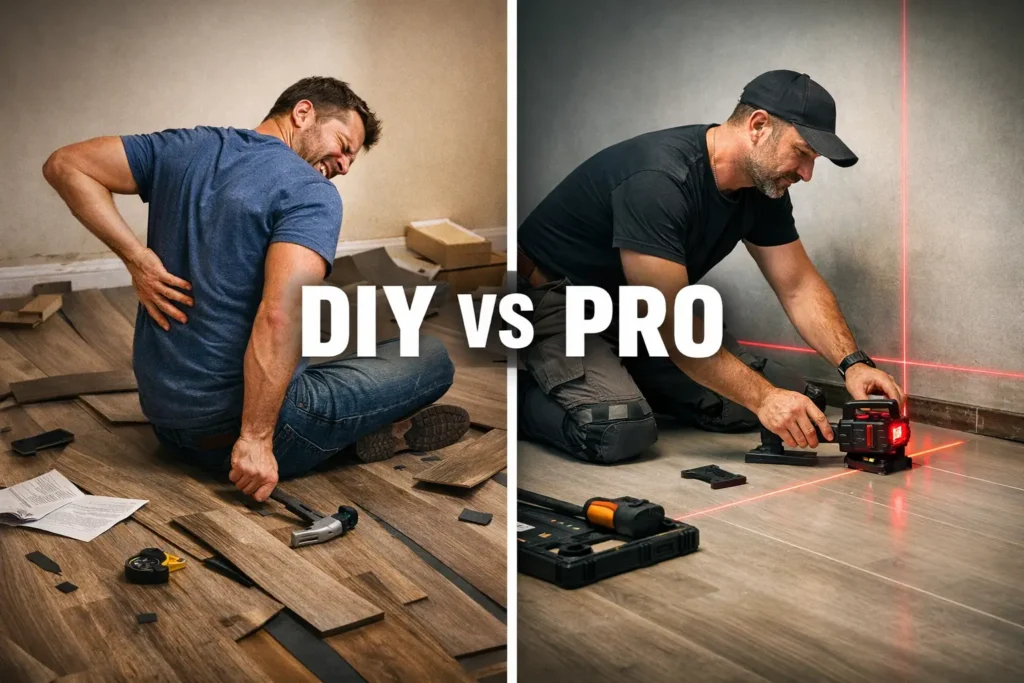
Most people only look at the money they save on a flooring installation estimate, but they forget that they are the ones doing the heavy lifting.
- Moving a large quantity of click-lock planks can involve substantial lifting, carrying, cutting, and kneeling. The physical workload depends on material weight, room access, helpers, equipment, project size, work pace, and individual capability; do not assume a fixed daily schedule or injury outcome.
- This isn’t just about being tired.
- Fatigue can increase the chance of mistakes, so schedule breaks and use a checklist for product-specific requirements such as the moisture barrier and subfloor leveling.
Use appropriate personal protective equipment for the work and choose knee protection based on fit, stability, comfort, task, and manufacturer guidance rather than assuming a specific price determines safety. For general ergonomic guidance, see OSHA ergonomics guidelines. Repetitive or prolonged kneeling can create ergonomic strain, but individual risk varies. Follow appropriate safety guidance, change positions, take breaks, and use suitable tools and protective equipment.
Technical Challenges in DIY Flooring
It’s easy to lay planks in the middle of a room. Edges, first-row alignment, door jambs, transitions, and perimeter details often require more care than laying boards in an open area.
First-Row Alignment
If the first row of click-lock planks is not aligned within the product and layout requirements, errors can compound across the room. Use measured reference lines, suitable layout tools, and repeated checks rather than assuming professional or DIY status determines accuracy.
Door Jambs and Transitions
- Undercutting: Door-jamb treatment should follow the flooring system, trim detail, expansion requirements, and manufacturer instructions. Undercutting is common in some installations, but the correct method depends on the project rather than a universal rule.
- Thresholds: Matching threshold transitions cost $60-$100 per transition in some examples. Damage or recutting can add material and time, but the actual impact depends on the transition product and project.
Warranty Risk: Why DIY Flooring Can Cost More Later
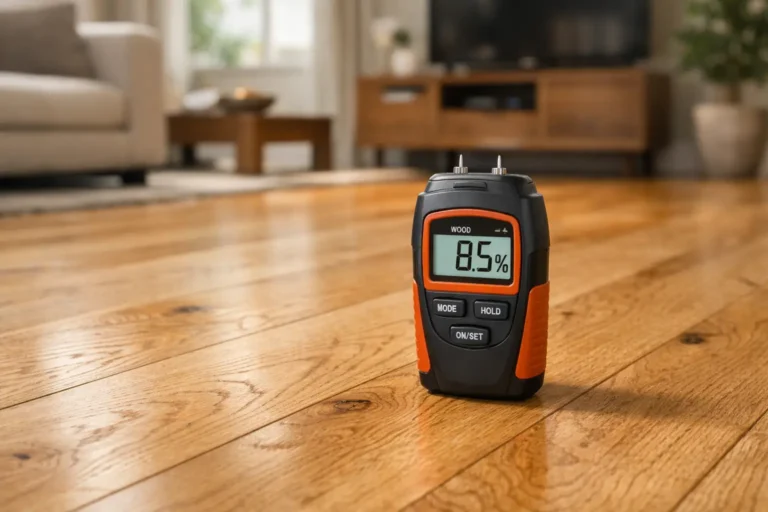
Many flooring warranties depend on proper installation, moisture testing, subfloor flatness, acclimation, approved underlayment, and correct expansion gaps. If the floor fails and you cannot show that the installation followed the product requirements, the manufacturer may deny the claim.
Professional installation can provide clearer workmanship responsibility when the contract defines documentation, preparation, installation requirements, exclusions, and remedies. Coverage still depends on the installer agreement and manufacturer warranty.
Real-world friction: If an installer makes a workmanship error, the remedy depends on the written contract, warranty, installer policy, cause of the problem, and applicable consumer protections. A DIY error may require additional material or corrective labor, but full replacement is not automatic.
Should You DIY Flooring or Hire a Pro?
| Scenario | Recommendation | Why? |
|---|---|---|
| Small Square Room | DIY | Low risk, minimal cuts. |
| Kitchen or Bathroom | Professional | High moisture risk; need a perfect seal. |
| Staircases | Professional | Stairs are the hardest task in flooring. |
| Open Concept (Large) | Professional | Requires massive expansion gaps and laser-straight lines. |
The Smart Middle Ground: DIY Demo, Pro Installation
One possible cost-saving split is to handle approved removal or room preparation yourself and hire a professional for installation, but whether that is appropriate depends on the existing material, hazards, disposal rules, warranty requirements, and installer scope. Pulling old carpet, removing tack strips, hauling debris, and clearing the room can reduce labor cost without risking the layout, warranty, or finished floor quality.
This approach works best when the old floor is carpet, loose vinyl, or simple floating laminate. Do not remove old tile, glued-down flooring, or suspicious older materials unless you know what you are dealing with. For surprise costs that can change the budget, read our hidden flooring costs guide.
FAQs
Is DIY flooring cheaper than hiring a professional?
Yes, DIY flooring is usually cheaper upfront because you avoid most labor charges. The savings can shrink if you need tool rentals, extra material, subfloor repair, transition pieces, or a professional to fix mistakes.
How much can I save by installing flooring myself?
For a 1,000 sq ft project, DIY can save roughly $3,000 to $6,000 in labor compared with professional installation. The real savings depend on the flooring type, room layout, prep work, waste, and how many tools you already own.
Is LVP flooring something I can install myself?
Yes, many homeowners can install click-lock LVP in a simple room if the subfloor is flat, clean, and dry. Hire a pro if the room has stairs, many doorways, moisture problems, uneven concrete, or a layout that continues through several rooms.
Is laminate flooring cheaper to install DIY or professionally?
Laminate is cheaper to install DIY because you avoid labor cost. Professional installation costs more, but it can be worth it for large rooms, uneven subfloors, tight transitions, or jobs where water damage and warranty issues matter.
When should I hire a professional flooring installer?
Hire a professional for bathrooms, kitchens, stairs, large open layouts, tile floors, hardwood installation, uneven subfloors, and any project where the manufacturer warranty depends on documented installation steps.
Can I remove old flooring myself and hire a pro to install the new floor?
Yes. This is often the best way to save money without taking on the hardest part of the job. DIY removal can lower labor cost, while professional installation protects the layout, finish, and warranty.
What happens if I start a DIY flooring job and cannot finish it?
You may pay more than a normal installation because the contractor has to inspect, fix, or remove the unfinished work before they can warranty the job. This is common when expansion gaps, subfloor prep, or plank alignment are wrong.
Conclusion
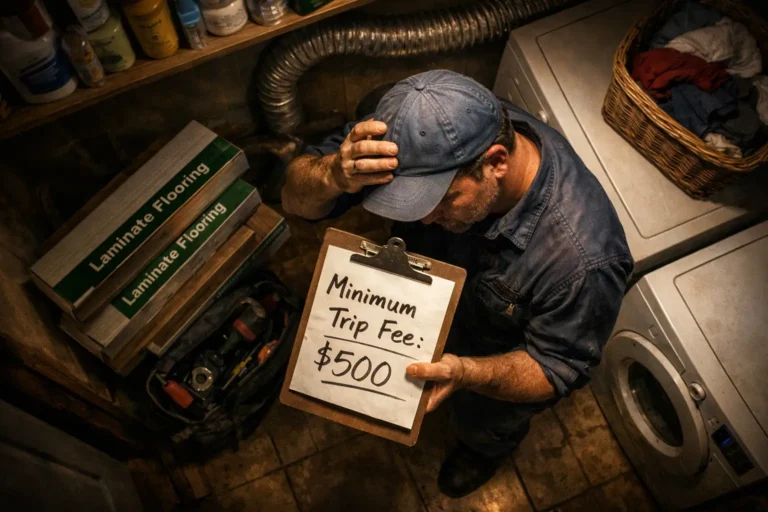
If you are doing a single bedroom and have a long weekend, go for the DIY. It’s rewarding and saves you the minimum trip fee. But if you are doing your forever home, get a professional flooring installation estimate. The speed, the quality of the finish, and the peace of mind of a 25-year warranty are worth the $4,000 tax.
To verify installer credentials or check independent material safety standards, you can consult the International Certified Flooring Installers Association (CFI). If you are in the UK or Canada, the National Institute of Carpet & Floorlayers (NICF) provides excellent regional standards.