
How to Measure for Flooring: Step-by-Step Room Workflow
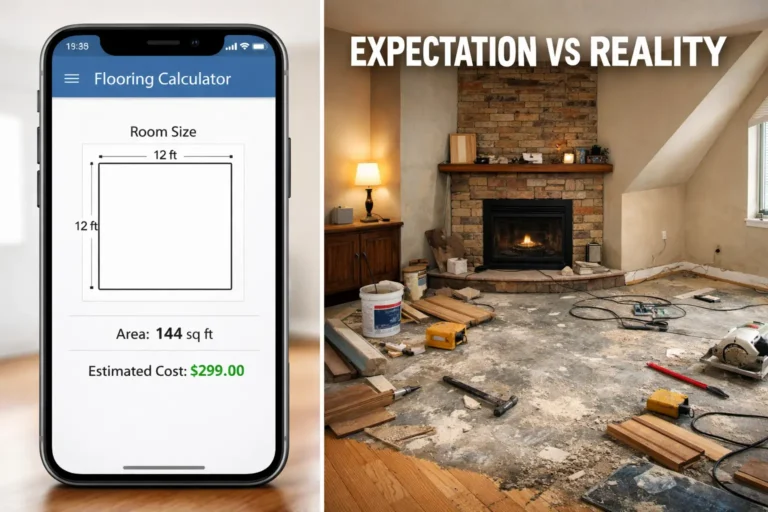
A consistent measuring workflow helps turn room dimensions into a reliable flooring plan. Measurement errors can affect material quantity, layout, box count, reorders, and project timing. Record actual room dimensions before shopping instead of relying on a rough estimate.
Finished-room dimensions can differ from plans because of wall finishes, alterations, openings, trim, and construction tolerances. This guide focuses on a repeatable room-measuring workflow that produces the “In-The-Door” number for planning, while final order quantity should also account for product coverage, waste, packaging, and installation requirements. For cost planning, use our Cost Factors Guide.
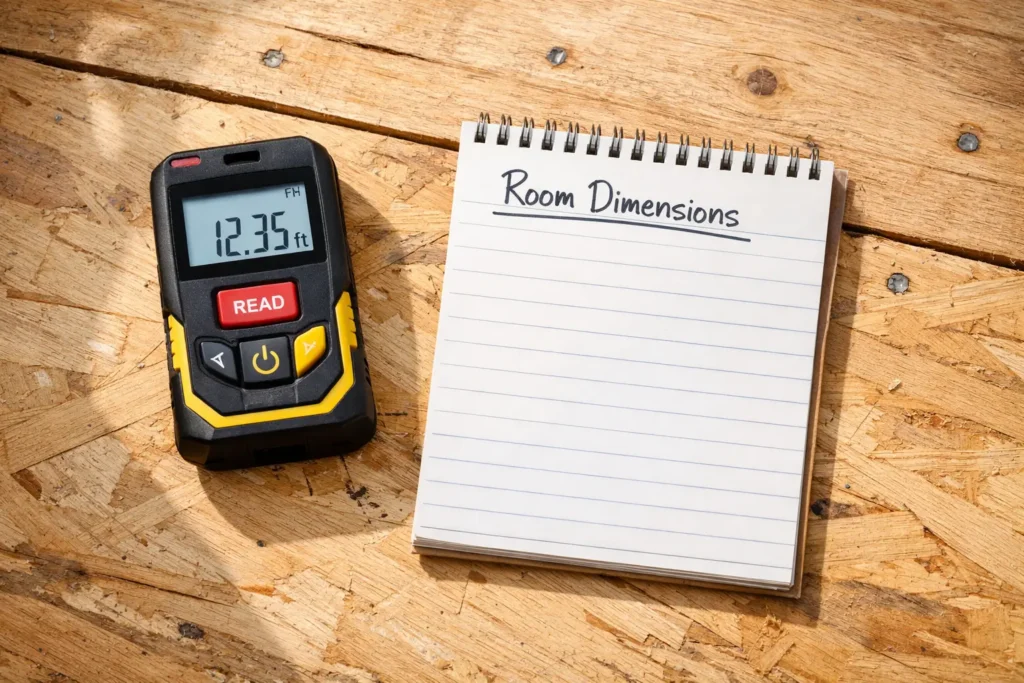
Table of Contents
Which Tool Should You Use?
Both tape measures and laser distance measures can work well; the better choice depends on room size, access, target surfaces, and familiarity with the tool.
Note: A laser measure can be convenient for solo measurements and long spans. Follow the device instructions and use a suitable target surface when reflective, dark, or angled surfaces affect the reading.
Verify Plans Against the Finished Room
Blueprints and real-estate floor plans can be useful references, but they may not match the finished flooring area. Verify the current room dimensions before ordering material.
Finished dimensions can differ from drawings measured before wall finishes, trim, built-ins, or later alterations were completed. Use the actual finished space and installation plan as the working reference.
The Divide and Conquer Method
For an irregular room, sketch the space and divide it into simple measurable sections such as rectangles. Clear access where practical and write each measurement down as you go rather than relying on memory. Record each section separately so the dimensions can later be converted into area and added together. Measure hallways separately, and if stairs are part of the project, record each tread and riser because stair quantities and installation requirements differ from a flat room. Curved or angled walls, built-ins, multiple levels, and other complex layouts may justify an installer or measuring professional checking the dimensions before material is ordered.
1. Find the Main Rectangle
- Start with the largest open area.
- Measure the actual flooring span between the finished boundaries defined by the installation and trim plan.
- Do not assume baseboard or drywall is always the correct reference point; use consistent boundaries that match where the flooring will actually run.
2. Account for L-Shapes & Alcoves
- If you have an L-shaped room, treat it as two separate boxes.
- Measure Box A, then measure Box B. Add them together at the end.
- If you try to do complex math in your head, it is easy to miss a corner.
How to Calculate Area for Your Region
The math changes depending on where you live, but the logic is the same. Whether you are using our Hardwood Calculator or buying tile, measurement units matter.
🇺🇸 USA and Canada (Square Feet)
Measure in feet and inches. To make the math easy, convert inches into decimals:
- 📏 6 inches = 0.5 ft
- 📏 3 inches = 0.25 ft
- 📏 9 inches = 0.75 ft
Example: If your room is 12 feet, 6 inches long and 10 feet wide, your math is:
12.5 x 10 = 125 square feet.
🇬🇧 UK and Australia (Square Meters)
Measure in meters and centimeters.
Example: If your room is 4.2 meters long and 3.5 meters wide, your math is:
4.2 x 3.5 = 14.7 square meters.
Measurement Details That Affect Installation
In addition to the main room dimensions, record closets, doorways, narrow final rows, and substrate conditions that can affect the installation plan:
Closets and Doorways
Measure each closet rather than assuming it is included in the main room dimensions or that a standard closet adds 10 to 15 square feet (1.4 m²). Also record the doorway area that will receive flooring. The location of the Transition Strip depends on adjoining flooring, doorway geometry, installation method, and the chosen transition rather than always sitting at the exact center. Check our Carpet Calculator for closet specifics.
Planning Narrow Final Rows
Starting with a full-width plank can sometimes leave a very narrow final row. Minimum usable row width and locking requirements vary by product, so calculate the layout before installation. The Fix: If the calculated final row is too narrow for the product or desired layout, adjust the starting-row width so the first and last rows are appropriately balanced. Follow the manufacturer’s minimum-width requirements rather than a universal 3-inch or half-row rule.
Record Subfloor Flatness Requirements
Click-lock flooring systems publish product-specific subfloor-flatness tolerances. Do not assume every LVP or laminate floor uses a limit of 3/16 of an inch (5mm) over 10 feet. Check the manufacturer’s test length, tolerance, and approved preparation method before using our LVP Calculator.
The Math of Waste and Cartons
Measured room area is only the starting point for the purchase quantity. According to the EPA guidelines on construction waste, planning for efficiency can reduce unnecessary material use, while the order should still include a project-specific allowance for cuts, defects, pattern loss, and desired attic stock.
- ✂️ The 10% Waste Factor: A straightforward rectangular layout may use a planning allowance around 10% in some projects, but confirm the amount for the product, room, layout, installer, return policy, and desired attic stock.
- 📐 The Pattern Tax: Herringbone or Chevron layouts can create more offcuts at the perimeter. Use the product- and layout-specific waste allowance rather than assuming every patterned project requires 15% or 20%.
- 📦 The Box Rounding Rule: Retailers sell in full cartons. If your total, including waste, is 156 sq ft and boxes cover 20.1 sq ft, you must buy 8 boxes. Whole-box rounding should be based on the final required area divided by the actual coverage per box; when a fractional box remains, round the box count up.

Product-Specific Installation Checks
- USA & Canada: Wood movement can be affected by temperature, humidity, product construction, and site conditions. Use the manufacturer’s expansion-space and conditioning requirements rather than assuming a universal 1/4-inch gap or 72-hour acclimation period before installation.
- UK & Australia: Concrete substrates may require moisture testing and a product-approved Moisture Vapor Barrier or other moisture-control system depending on the flooring, underlayment, slab conditions, installation method, and manufacturer instructions. Do not assume one barrier rule prevents odor or mold in every assembly.
- The Dye-Lot Variable: Product batches can vary in shade. Consider keeping a compatible attic stock box for future repairs when practical, but the amount depends on product availability, room size, pattern, storage, and expected repair needs; an exact future match cannot be guaranteed.
- Self-Leveling Underlayment (SLU): If the substrate is outside the product’s flatness tolerance, corrective work may be required. The appropriate method can include patching, grinding, shimming, or self-leveling underlayment depending on the substrate and flooring system. You can estimate this using our Tile Calculator (Pro Mode).
Measuring Stairs: The High-Cost Zone
Stairs are frequently the most expensive part of a project. You cannot simply measure the length of the staircase.
- Measure the Tread (where you step) and the Riser (the vertical part) separately. Count every step twice.
- Stair installations may require product-specific nosing or trim, and prices vary by material, profile, brand, seller, and region. Treat figures such as $50 to $80 each.
- Treat flat landings as separate small rooms. Do not assume they use the same transition logic as the steps.
FAQs
How do I measure an irregular room with a bay window?
Think of the bay window as a separate trapezoid. Measure the width at the front and the back, average them, and multiply by the depth. Add that result to your main rectangle calculation.
Do I need to remove the furniture to measure?
No, but it helps. If you have heavy furniture, measure to the side of it and then use a best guess for the depth. Note that heavy pieces can sometimes hide floor vents or floor damage.
Should I measure the kitchen under the appliances?
If you are using a floating floor (LVP/Laminate), it is usually best not to install it under heavy fixed appliances like a stove. The weight can pin the floor down, preventing it from expanding naturally. Measure up to the toe-kick of the cabinets instead.
Conclusion
Measurement isn’t just about math; it is about protecting yourself from hidden costs. If you follow these steps, you will have exactly what you need to finish the job.
- Are closets and alcoves included?
- Did you measure into the center of the doorways?
- Did you add the 10% waste factor?
- Did you round UP to the nearest full box?
- Did you check the subfloor for flatness?
Don’t forget the Attic Stock.
Keep one full box of flooring in your garage or attic. Ten years from now, when you have a minor repair or a deep scratch, you will be glad you made that small investment today.



One Comment