
Common Flooring Measurement Mistakes and How to Avoid Them
Accurate measurements are the starting point for material quantity, box counts, waste planning, and room-to-room transitions. A measurement error can affect material quantity, layout, reorder timing, and cost, but the impact depends on the size of the error, product packaging, supplier, delivery terms, and project schedule.
In 2026, flooring is heavy, expensive, and hard to ship. If you run short, a reorder may involve a different batch, minimum quantity, lead time, or added shipping cost. This page is a checklist of common measurement and planning errors to catch before ordering.
If you haven’t calculated your total area yet, start with our guide on How to Calculate Square Footage before reading these mistakes.

Table of Contents
What Are the Most Common Mistakes When Measuring a Room for Flooring?
The most common flooring measurement mistakes are using old blueprints instead of real room measurements, forgetting closets, stopping at the door frame, converting inches to decimals incorrectly, ignoring waste for patterns, and skipping subfloor flatness checks. These look like small errors on paper, but they turn into missing material, ugly transitions, and expensive reorders once the project starts.
Quick Check Before You Order Flooring
If you searched for how to measure a room for flooring or how to measure flooring, the key mistake to avoid is treating square footage as the final order quantity. Measure the actual finished floor area, split irregular rooms into simple shapes, include closets and relevant doorway areas, then apply the product-specific waste allowance and round to full-box coverage. For the full measuring workflow, see our step-by-step room measurement guide.
- Blueprints instead of real walls: finished rooms rarely match old plans exactly.
- Closets and doorway centers missed: small spaces add up fast.
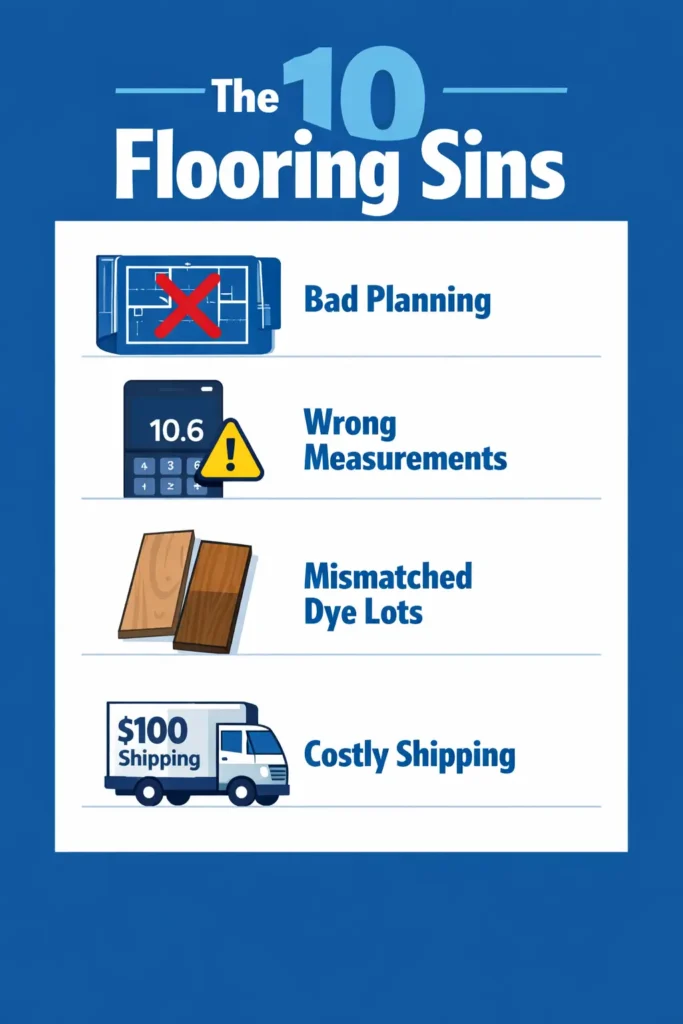
- Decimal mistakes: 10 feet 6 inches is 10.5, not 10.6.
- Waste underestimated: patterned layouts need more than a standard 10% extra.
- Flatness ignored: a floor can have the right square footage and still fail if the subfloor is uneven.
1. Using Blueprints Instead of Finished-Room Measurements
Why your house plans are often wrong
Architectural drawings and real-estate floor plans can be useful references, but they may not match the finished room dimensions. Verify the actual space before ordering because wall finishes, alterations, openings, and construction tolerances can change usable measurements.
The Fix: Before ordering, verify the finished room dimensions with an appropriate measuring tool and record closets, alcoves, openings, and trim conditions that affect the flooring area. Whether baseboards are removed depends on the installation and trim plan. For tips on hiring pros to verify measurements, check Consumer Reports on Contractors.
2. Baseboards and Measurement Boundaries
Knowing exactly where to stop your tape
Decide which finished surfaces define the flooring area before recording dimensions. Existing baseboards, quarter-round, planned trim removal, expansion space, and flooring type can affect where measurements are taken.
- The Problem: Do not assume one trim condition applies to every installation. Measure the actual floor area and follow the flooring and trim plan, including required expansion space, rather than using a universal wall-to-stud rule.
- The Fix: Decide on the trim plan first, then use consistent room dimensions that match the actual flooring area and installation method.
Best Tools for Measuring a Room for New Flooring
If you want accurate numbers, a tape measure alone is not enough. The best tools for measuring a room for new flooring are the ones that help you check both area and installation conditions.
- 25-foot tape measure: for room length, width, closets, and doorway spans.
- Laser distance measurer: helpful for large rooms, long walls, and quick double-checks.
- 10-foot straight edge or level: to check dips and bumps before ordering click-lock flooring.
- Notepad or phone sketch: to break irregular rooms into smaller rectangles you can total correctly.
- Calculator with inch-to-decimal conversion: to avoid the classic 10.6 error when the real number is 10.5.
For the full measuring workflow, see our how to measure for flooring guide. If you want to turn those measurements into a realistic budget, use our how to estimate flooring costs guide.
3. The Forgotten Closet
Don’t miss the rooms within rooms
It is easy to look at a bedroom as one big rectangle. People often forget that the floor continues behind the closet door.
The Problem: Closet size varies widely, so measure each closet instead of assuming a standard area or a fixed number of boxes. Small omitted spaces can still change the order quantity after waste and box rounding are applied.
The Fix: Treat every closet like its own separate room. Measure the inside depth and width, then add it to your main room total.
4. The Doorway Gap
Why stopping at the door frame is a mistake
This is the technical error that leads to ugly gaps between rooms. Beginners often stop their measurement right at the edge of the wall where the door sits.
The Fix: Measure the doorway area that will actually receive flooring. The stopping point and any transition location depend on the adjoining materials, doorway geometry, installation method, and transition product rather than being fixed at the exact center.
5. The “10.6” Math Error
Phone calculators vs. Tape measures
This is the most common reason people get their square footage wrong. Your phone calculator uses decimals, but your tape measure uses inches.
The Decimal Rule:
- 3 inches = .25 feet
- 6 inches = .50 feet
- 9 inches = .75 feet
Example: 10 feet 6 inches is 10.5, NOT 10.6.
6. Planning the Last Row
Planning for the very last row
If a room width and plank width leave a very narrow final row, installation can be more difficult and the layout may look unbalanced. Minimum row width and locking requirements vary by product; do not assume a narrow strip will fail on a fixed timeline.
The Fix: Divide your room width by the plank width. If the calculated final row is too narrow for the product or desired layout, adjust the starting-row width so the first and last rows are appropriately balanced. Follow the manufacturer’s minimum plank-width and locking instructions rather than a universal 3-inch or half-row rule. This is crucial for LVP installations.
7. Bumpy or Uneven Floors
Measuring flatness is just as important
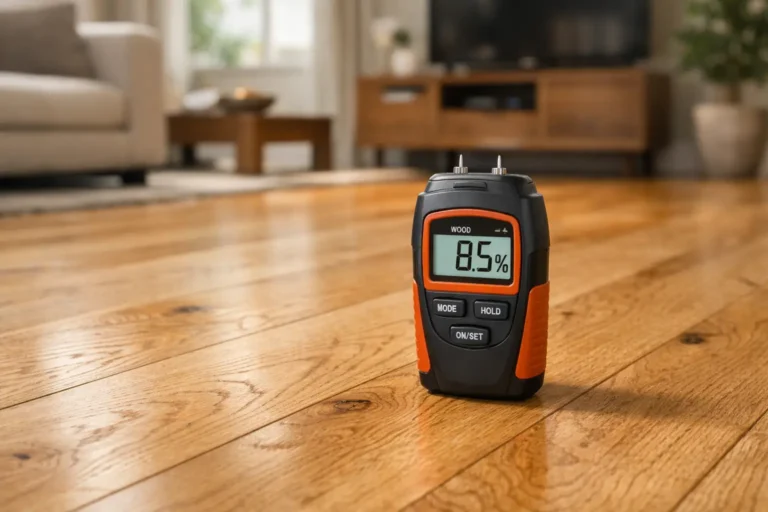
Click-lock joint design and subfloor-flatness tolerances vary by product. Excessive substrate variation can stress joints or create movement and noise, so use the manufacturer’s stated flatness requirements.
8. Pattern Layout and Waste Allowance
Why pattern layout can change the waste allowance
Herringbone, chevron, diagonal, and other patterned layouts can create more cuts and offcuts than a straightforward layout. Use a waste allowance based on the specific material, pattern, room geometry, and installation plan.
The Fix: Use the waste allowance recommended for the specific product, room geometry, and installation pattern. Straight layouts may need less extra material than herringbone, chevron, diagonal, or other cut-heavy patterns. Check the manufacturer’s installation guidance and box coverage before ordering; do not assume one universal 10% or 20% rule.
9. Batch and Dye-Lot Consistency
Why production-lot consistency can matter
Material purchased at different times may come from different production lots. Shade, texture, gloss, or print variation can occur between lots depending on the product, so compare batch or lot information where the manufacturer provides it.
The Fix: When lot consistency matters, try to source the required quantity and reasonable attic stock from compatible production lots, then verify carton labels before installation. Availability and lot conventions vary by manufacturer and seller.
10. Shipping Surcharges
Reorder and Shipping Costs
Shipping, minimum-order, pickup, and reorder charges vary by retailer, distance, order size, weight, delivery method, and product availability. Check those terms before ordering rather than assuming fixed pallet or emergency-box fees.
For official shipping and logistics standards, you can refer to GSA Guidelines.
The Fix: Convert the required square footage to the product’s stated box coverage and round up to the next full box when a partial box cannot be purchased. Then add any product-specific waste or attic-stock allowance separately.
Final Checklist: Did You Dodge the Mistakes?
- ✅ Closets: Included and measured separately?
- ✅ Doorways: Measured to the center of the threshold?
- ✅ Decimals: Used .5 for 6 inches (not .6)?
- ✅ Flatness: Checked the subfloor for dips or bumps?
- ✅ Production lot: Where the manufacturer uses lot or batch identifiers, check that the material is compatible and visually consistent before installation.
Pro-Tip: Consider keeping reasonable attic stock when the product, storage conditions, and budget allow. Matching color, print, finish, or production lots may be harder to source later, but availability varies by manufacturer and retailer.
FAQs
How do I measure an irregular room with a bay window?
Treat the window area as a separate rectangle. Measure its widest and deepest points, then add them to your main room total.
Should I measure the floor area under my kitchen appliances?
For movable appliances, measure the floor area that the selected flooring system is intended to cover. Fixed islands, cabinets, and floating floors require product-specific planning because some manufacturers restrict installation under fixed heavy objects. Follow the flooring and appliance installation instructions.
Do I really need to add 10% for waste if my room is a perfect square?
Usually some extra material is needed for cuts, defects, layout, and future repairs, but the percentage is not universal. Use the waste allowance recommended for the product, pattern, and room geometry rather than automatically adding 10%.
Can I use the square footage listed on my home appraisal?
Home appraisal or listing square footage is not a purchase measurement for a flooring project. Measure the actual finished floor areas planned for the new flooring, including relevant closets, alcoves, and doorway areas.
How do I measure for transition strips between rooms?
Measure the width of every doorway where the floor changes. Add them up and buy enough full strips to cover the total.
What is a Dye-Lot, and why does it matter?
A dye-lot or production lot identifies a manufacturing batch for products that use that system. Shade, texture, gloss, or print variation can occur between lots, so check manufacturer and retailer lot information when matching material matters.
What are the most common mistakes when measuring a room for flooring?
People usually make mistakes by trusting blueprints, forgetting closets, stopping at the door frame, converting inches to decimals the wrong way, and underestimating waste for patterns or tricky cuts. Another major mistake is measuring square footage without checking whether the subfloor is flat enough for the flooring type.
What are the best tools for measuring a room for new flooring?
The best tools are a 25-foot tape measure, a laser measure for long spans, a 10-foot straight edge or level for flatness, and a simple sketch or notes app so you can total closets, alcoves, and doorway centers correctly. A calculator that handles inch-to-decimal conversion also helps prevent common math errors.
Conclusion
Getting your flooring measurements right isn’t just about math; it is about protecting your bank account from hidden costs. In 2026, the biggest threat to your budget isn’t the price of the wood, it’s the cost of being wrong.
Measure twice, calculate once, then order full-box coverage plus the waste or attic-stock allowance appropriate for the product and layout.




One Comment